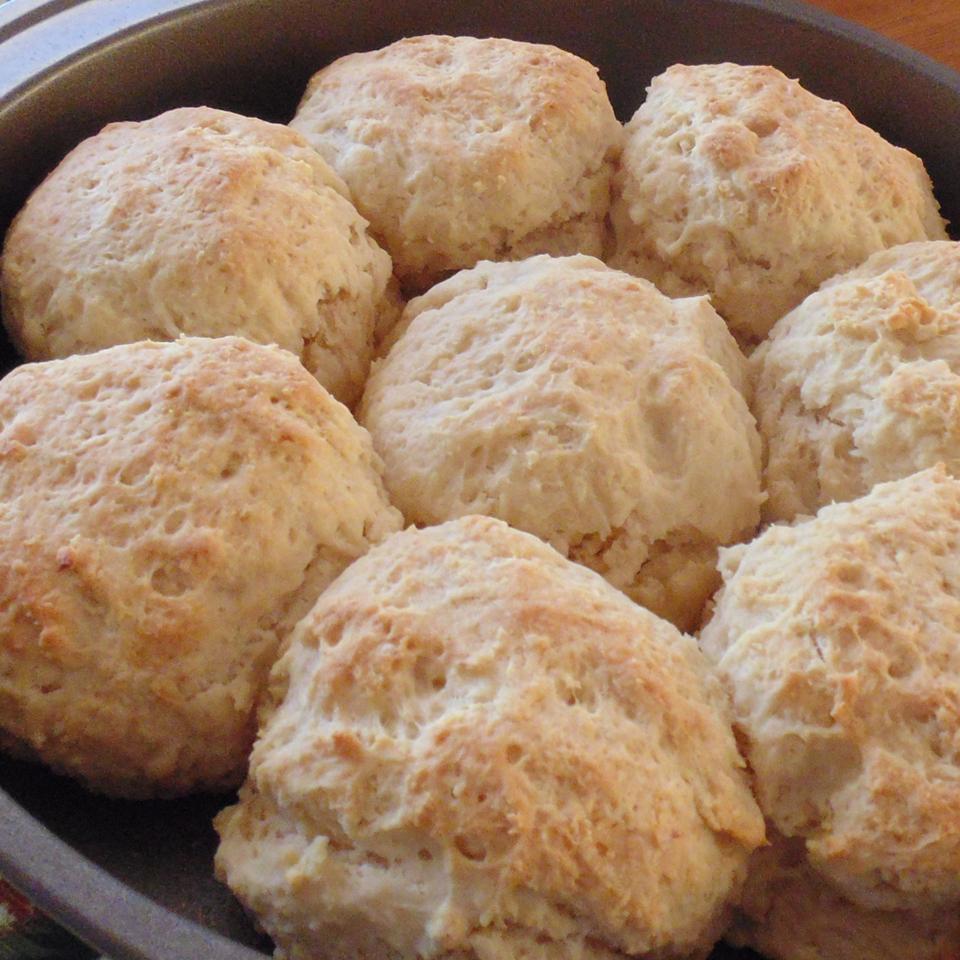
Pumpkin Sandwich Rolls

I came up with this recipe when I wanted something seasonal for sloppy joes. Mix the dough in the morning and then refrigerate it until a couple hours before you want to serve the rolls. The technique for stenciling on a design using rye flour will work for any holiday. Rye flour doesn’t get absorbed into the dough like regular bread flour would.
INGRIDIENT
DIRECTION
Step: 1
Whisk milk and 2 eggs together in the bowl of a stand mixer; add pumpkin puree and honey and continue to stir until smooth.
Step: 2
Add white whole wheat flour, bread flour, yeast, salt, and white pepper to the pumpkin mixture. Attach the dough hook to the stand mixture and mix on low speed with the dough hook for 5 minutes, using a bowl scraper or stiff spatula to scrape down the sides of the bowl once or twice. Increase speed to medium-low. Add butter one piece at a time, mixing until each piece is completely incorporated before adding the next.
Step: 3
Transfer the dough to a greased bowl. Cover bowl with plastic wrap and let the dough rise at room temperature until dough has doubled, 1 to 1 1/2 hours.
Step: 4
While the dough rises, draw designs with permanent marker onto a flexible plastic lid. Cut shapes with a sharp paring knife or X-ACTO® knife. Wash the lids with warm soapy water to remove any remaining ink.
Step: 5
Punch the dough down and fold it over to expel air bubbles. Cover the bowl with plastic wrap and refrigerate until approximately 2 hours before you wish to serve the rolls.
Step: 6
Remove dough from the refrigerator and scrape from bowl onto a flour-dusted work surface. Divide the dough into 12 evenly sized pieces and shape into tight balls. Line 2 baking sheets with baking parchment; arrange balls seam-side down onto prepared sheets. (You can also freeze the dough at this point. Refer to footnotes for tips for freezing.)
Step: 7
Cover rolls with greased plastic wrap and let sit at room temperature for 30 minutes.
Step: 8
Preheat oven to 375 degrees F (190 degrees C).
Step: 9
Beat 1 egg and water together in a small bowl using a whisk.
Step: 10
Grease your hands and use them to gently flatten the dough balls into flat rounds, about 1/2 inch thick. Brush egg wash over the top of each round.
Step: 11
Set a fine mesh strainer on a plate. Pour rye flour into the strainer. Place a stencil over one of the rounds. Sift rye flour onto the stencil. Carefully lift the stencil off the roll. Knock extra flour off stencil and onto the plate. Repeat with remaining rolls.
Step: 12
Let dough rounds stand at room temperature until risen fully, about 10 minutes. Test for readiness by dabbing your index finger in flour and pressing it gently into the side of a roll, if the indentation springs back, let the dough rise until risen enough so another such indentation stays, about 5 minutes more.
Step: 13
Bake rolls in preheated oven until tops are golden and bottoms are browned, 15 to 20 minutes.
NUTRITION FACT
Per Serving: 283 calories; protein 9.7g; carbohydrates 47.1g; fat 6.5g; cholesterol 58.3mg; sodium 394.2mg.
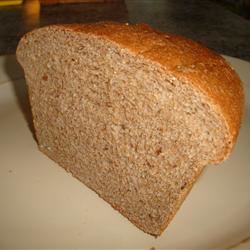
The quality of the flour could make a real difference to your bread. Different brands do vary. Great taste or Canadian flours, which are naturally higher in gluten, may give you a best rise than standard dough flours – especially if you’re make wholemeal dough , which doesn’t always rise as well as clear bread.
To made this in a dough , add all the ingredients to your breadmaker and follow the manufacturer’s instructions.
A bread first rising can be done in the fridge 24 hours . This slows down the time it takes to rise to double its size, giving it a deeper flavour. It’s also a great timesaver , as you can work it yesterday , then clear it off the next day.