Gluten-Free Sourdough Starter

This is a step-by-step guide on how to begin a gluten-free sourdough starter without yeast. The amounts here are for getting the mother dough started. You will need to keep extra flour mix on-hand to continue feeding as long as you want to keep the starter. Once it begins to have a sponge-like consistency, it is ready to use and should be kept in the fridge or else it will grow wild all over the counter. Add a bit of the starter in your favorite recipes calling for yeast or baking powder for a unique flavor and texture.
INGRIDIENT
DIRECTION
Step: 1
Mix together the brown rice flour and the buckwheat flour until well combined.
Step: 2
Day 1: Whisk together 1 cup of the flour mix and 3/4 cup filtered water in a glass jar. Stir well until smooth and no lumps remain. Cover with a piece of cheesecloth or a clean linen towel and let sit at room temperature (about 70 degrees F (21 degrees C)), far from drafts or direct sunlight. Do not cover with plastic wrap, the circulation of air is important. Every once in a while, stir the mixture with a fork or whisk. Check to see if small bubbles start to form in the mixture. These bubbles indicate that wild yeast is forming.
Step: 3
Day 2: As well as stirring, you will begin to feed the starter on day 2. In the morning, mix 1/4 cup of flour mixture and 3 tablespoons room-temperature filtered water. Once mixed well, add the flour-water mixture to the jar with the starter mixture. Stir well and continue to stir throughout the day if possible. Every 12 hours, add this same feeding mixture (1/4 cup flour plus 3 tablespoons water) to the mother mixture.
Step: 4
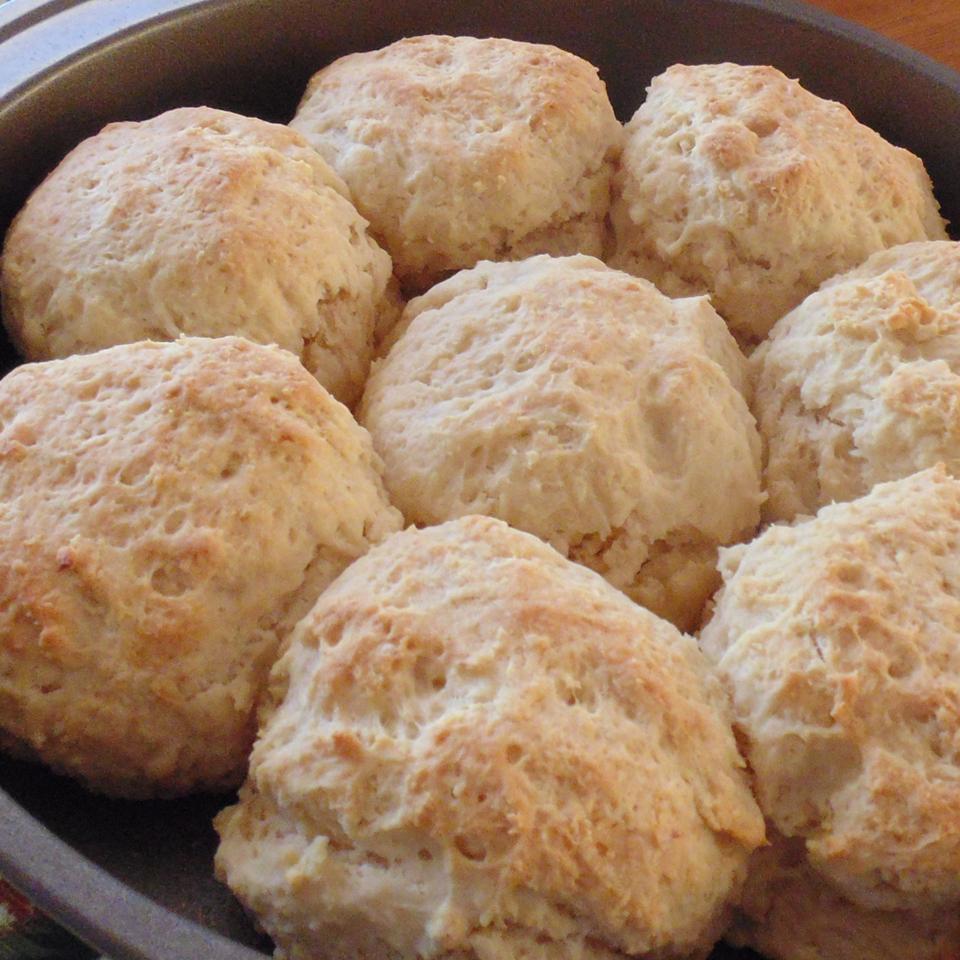
Day 3: By now, you should notice an overall sponge-like texture. If this is the case, your starter is ready to use. At this point, it should be kept in certain conditions to keep from over-growing. Keep it sealed, in the refrigerator.
Step: 5
If your starter has only a bit of foam at the top, but you notice a fragrant smell of yeast, these are good signs and could be that the room is too cool. Check to make sure the location is draft free. If you don’t notice these minimal signs and a note a foul smell, discard starter and restart.
Step: 6
If your sponge is still very watery but has a sponge forming, mix well, take out 1 cup of the mixture, and discard (or use in another recipe) and feed the starter every 6 hours.
Step: 7
By day 4 your starter should be ready. Keep the starter covered in the refrigerator and feed very two weeks or each time you measure out any starter.
NUTRITION FACT
Per Serving: 2708 calories; protein 75.3g; carbohydrates 570.5g; fat 22.7g; sodium 46.7mg.
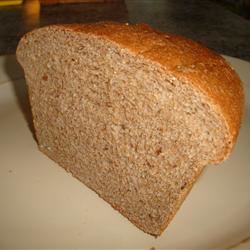
The best flavour of the flour can make a real difference to your bread. Different brands do vary. Extra-strong or Canadian flours, which are naturally higher in gluten, may give you a better rise than standard bread flours – especially if you’re make wholemeal bread , which not always rise as well as white bread.
To made this in a dough , add all the ingredients to your breadmaker and follow the makers instructions.
A bread first rising can be make in the fridge 24 hours . This slows down the time it takes to rise to double its size, giving it a deeper flavour. It’s also a great timesaver , as you can work it yesterday , then finish it off the next day.